Devices & accessories
Shaped Paper Tube Packaging for Electronics
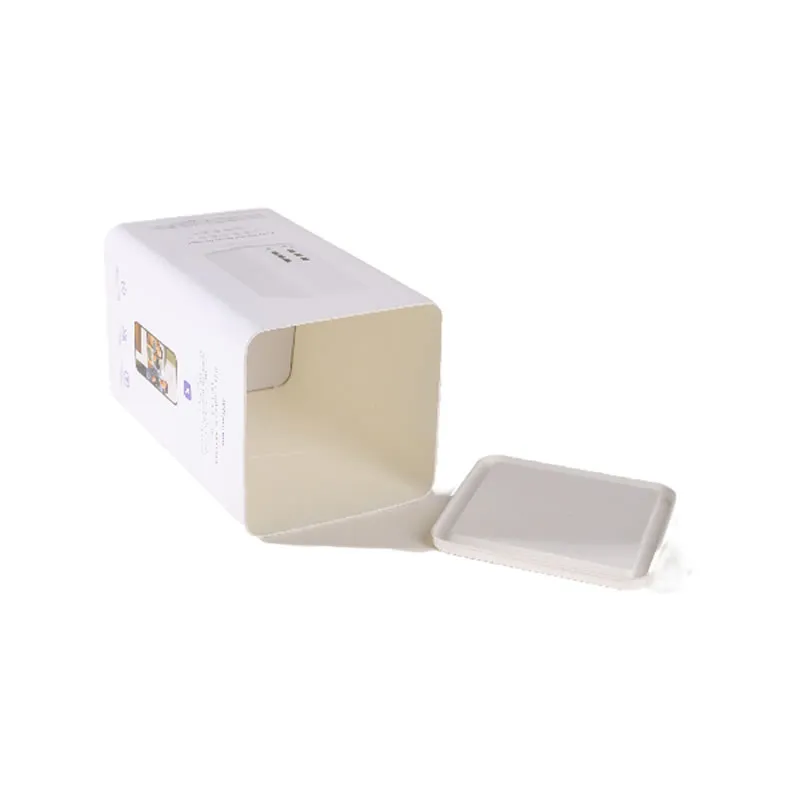
A white shaped outer shell is photographed open with a separate matching lid.
Long Paper Tube for Electronics Packaging · view 1 of 4
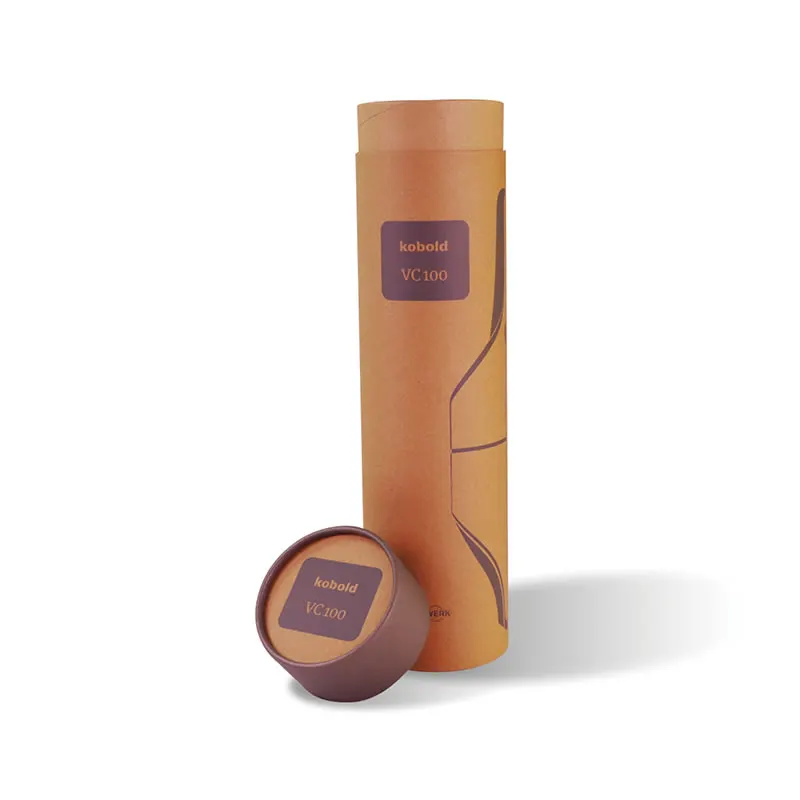
A warm brown long cylinder and small matching piece are shown together.
The pictured decoration is a visual reference. Final materials, fit and finishing are confirmed by sample.
MAKE THE REFERENCE YOUR OWN
The photograph shows a long outer tube and a matching end piece, not a confirmed accessory pack-out. Measure the actual item and define end clearance and loading direction. If accessories are included, supply their dimensions and a separate placement plan.
Review the pack-out and project inputs ↗| Pictured construction | A warm brown long cylinder and small matching piece are shown together. |
|---|---|
| Size & fit | Actual item dimensions, end clearance, loading direction and any optional accessories |
| Pack-out & support | Review usable length, end access and optional accessory positions. |
| Wrap & print | Review paper appearance, artwork, seam placement and decoration together on a sample. |
| Standard minimum order | 3,000 pieces for non-molded-pulp packaging; 10,000 for molded pulp, bagasse and molded fiber. Confirm the complete specification. |
| Sampling & production | Company guidance: 24–48 hours for samples and typically 2–5 weeks for production, subject to specification and sample type. |
| Plan usable length and end access | Measure the actual long item and confirm the opening and removal path. If the project includes a separate accessory, give it its own position in the packing plan. |
| Brief inputs: item length and loading | Specify packed item dimensions, end clearance, loading direction and printed orientation. Optional accessories need their own dimensions and placement drawing before testing for collision. |
THE FIRST THING YOU FEEL
Eight visual directions for the wrap.
Grade, weight and suitability are confirmed by sample.
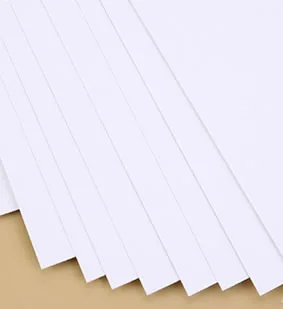
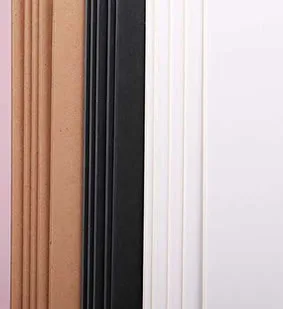
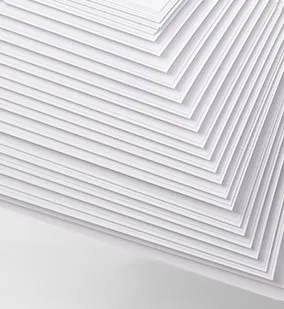

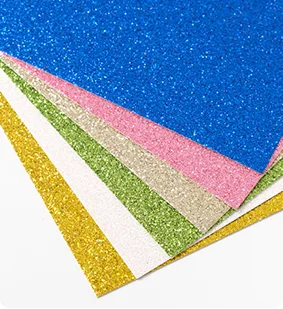
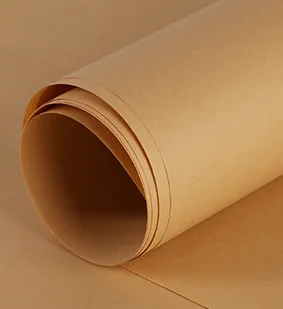
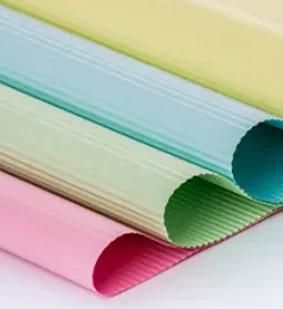
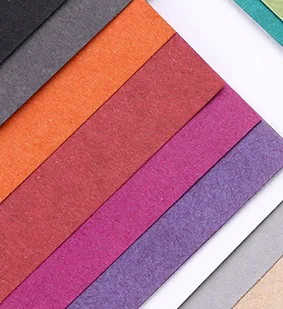
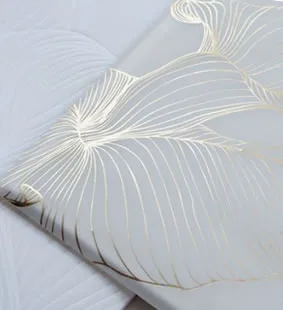
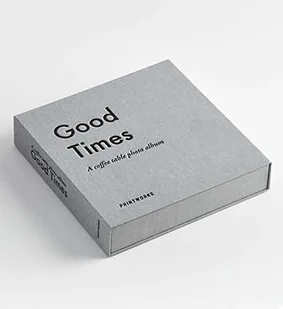
C1S and C2S are the named paper references in this selection. Colored and textured selections describe appearance; they do not specify a material grade.
ADD THE FINISHING TOUCH
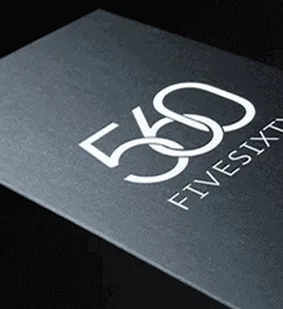
Explore eight decoration references.
Compatibility depends on the structure, paper and sample.
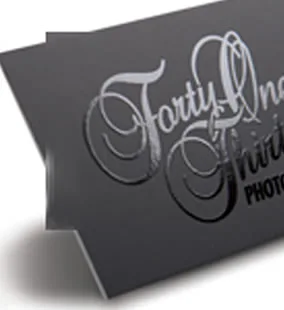

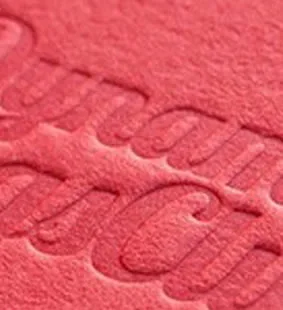
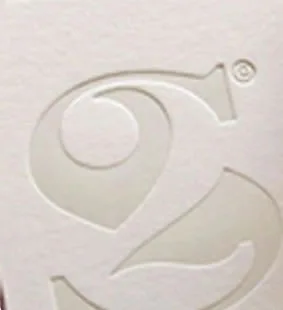

FROM PAPER TO PACKAGING
These photographs show paper-tube manufacturing activities. The selected shape, material and closure determine the actual sequence and operations for your project.
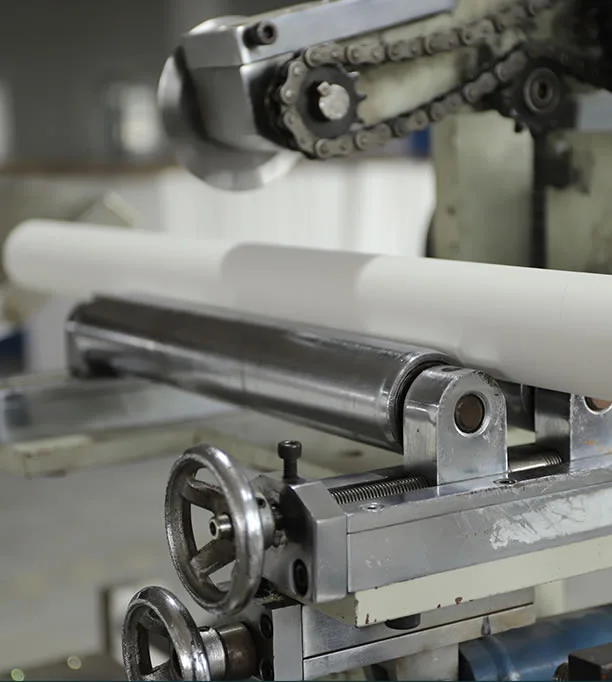
Paper ribbons are wound into the tube body.
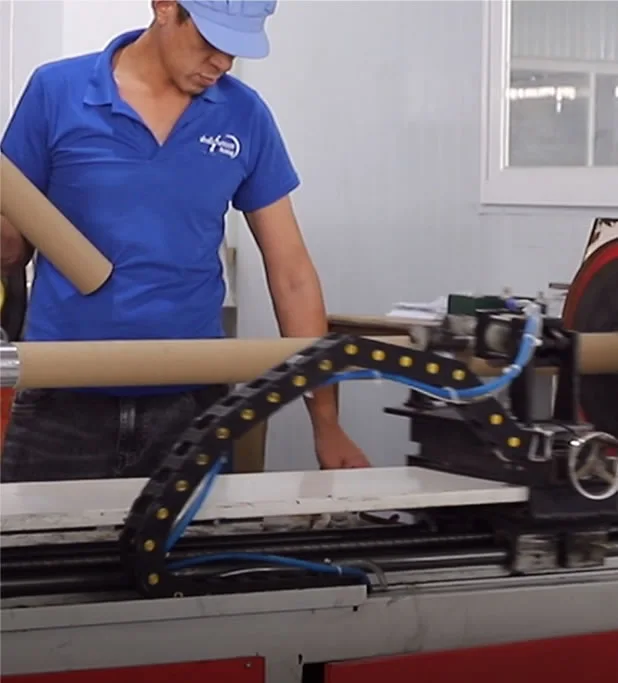
The tube is cut for the agreed structure.
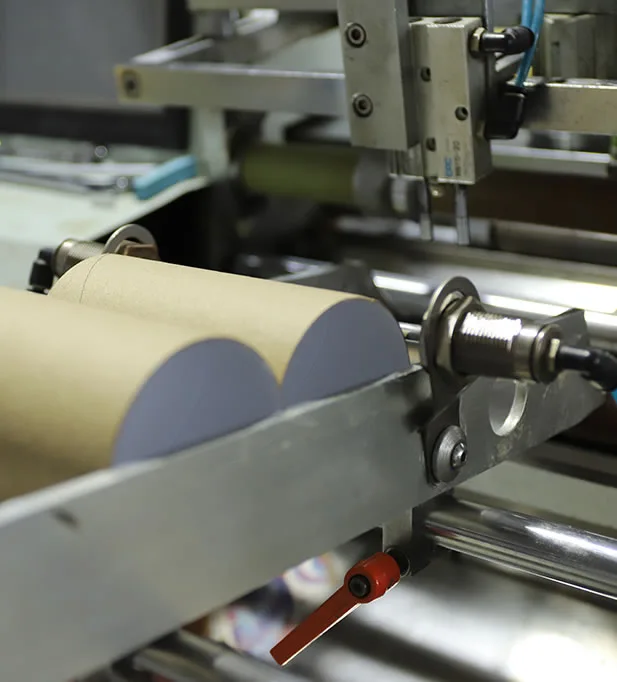
Printed paper is applied around the body.
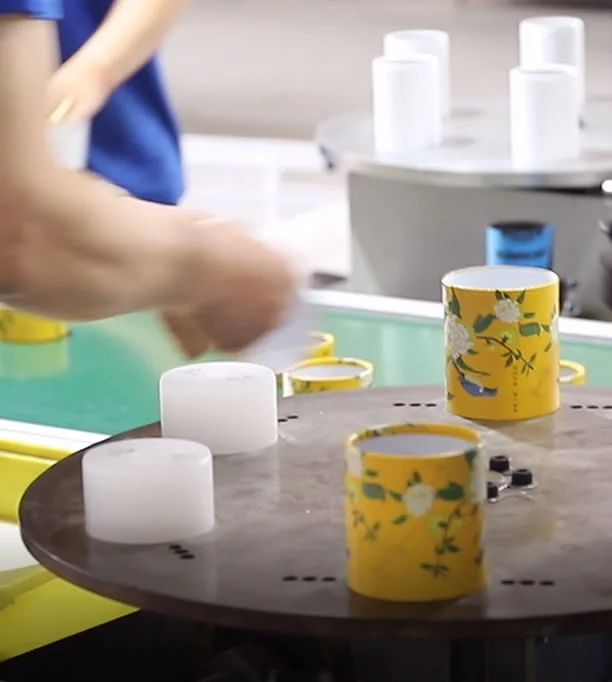
Edges are formed to suit the closure.
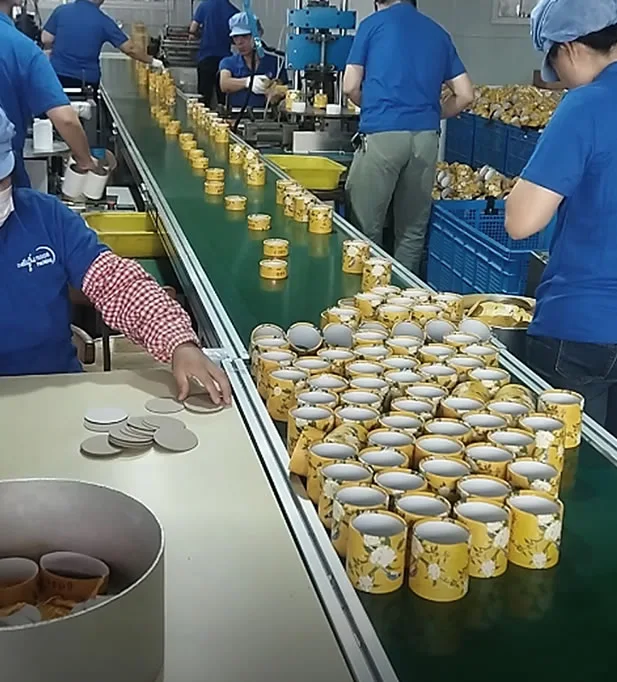
The base and specified components are assembled.
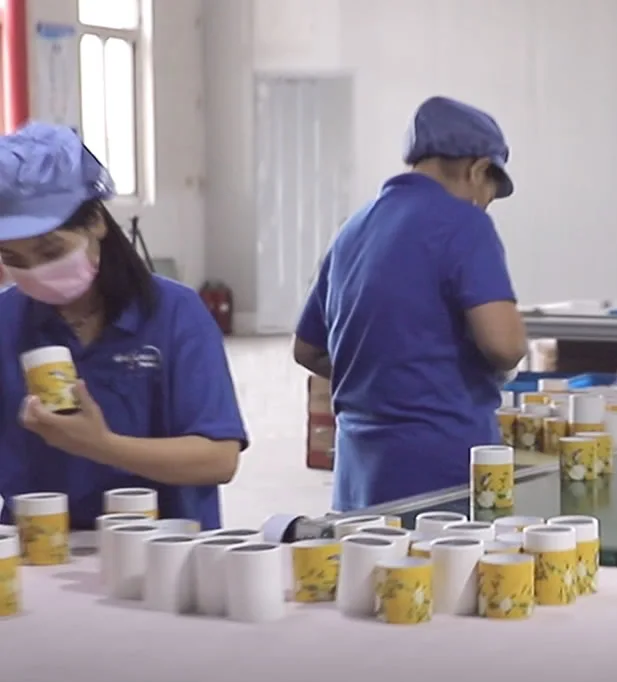
Finished tubes are checked before packing.
EXPLORE ANOTHER APPROACH
Devices & accessories
A white shaped outer shell is photographed open with a separate matching lid.
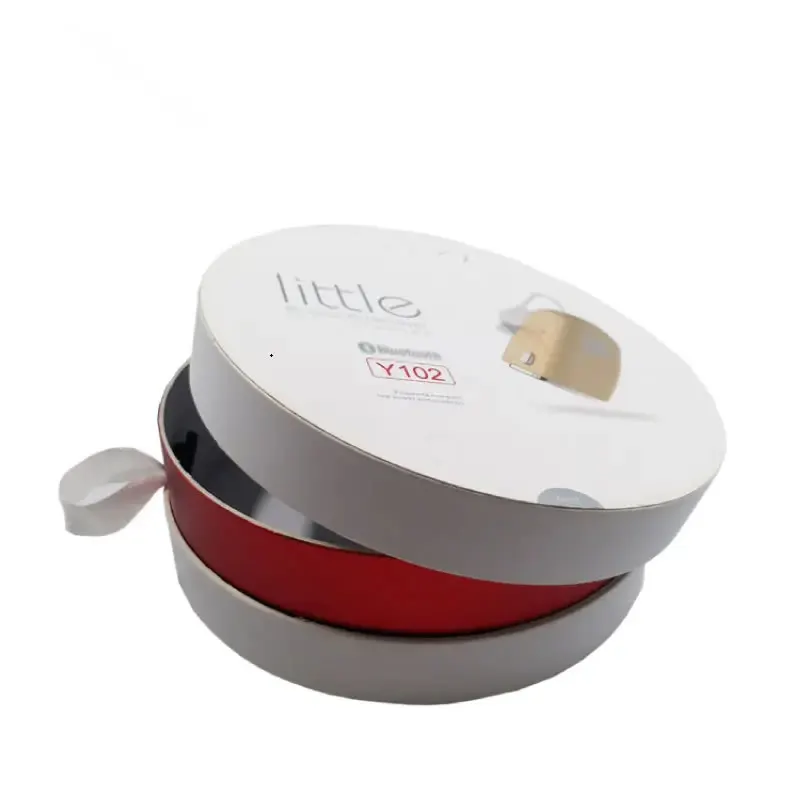
Devices & accessories
A shallow pale round pack appears in stacked pieces with a red inner band.
Devices & accessories
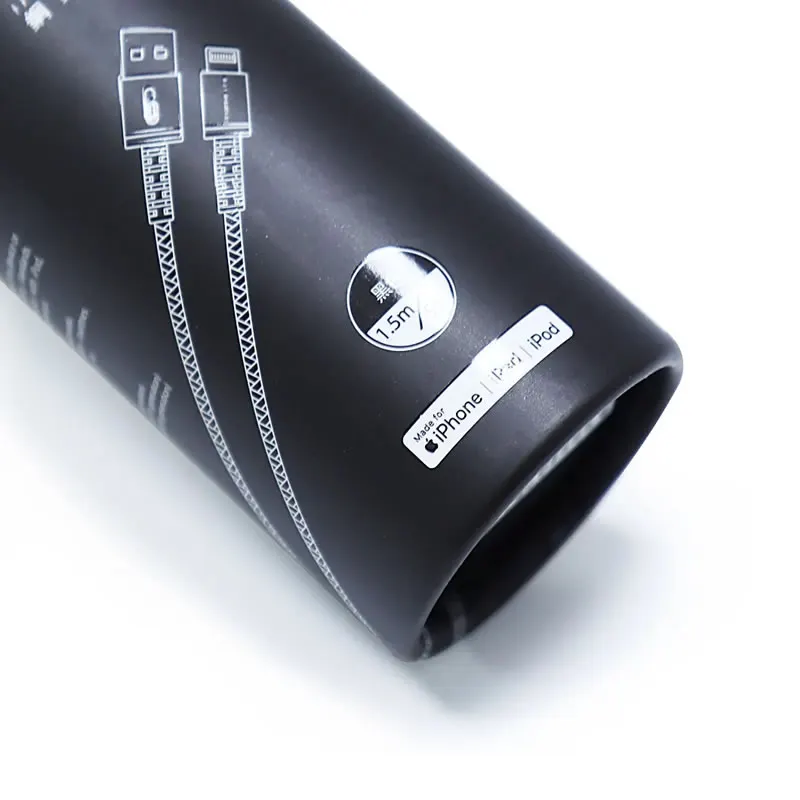
A black cylinder printed with cable graphics is photographed at an angle.
Devices & accessories
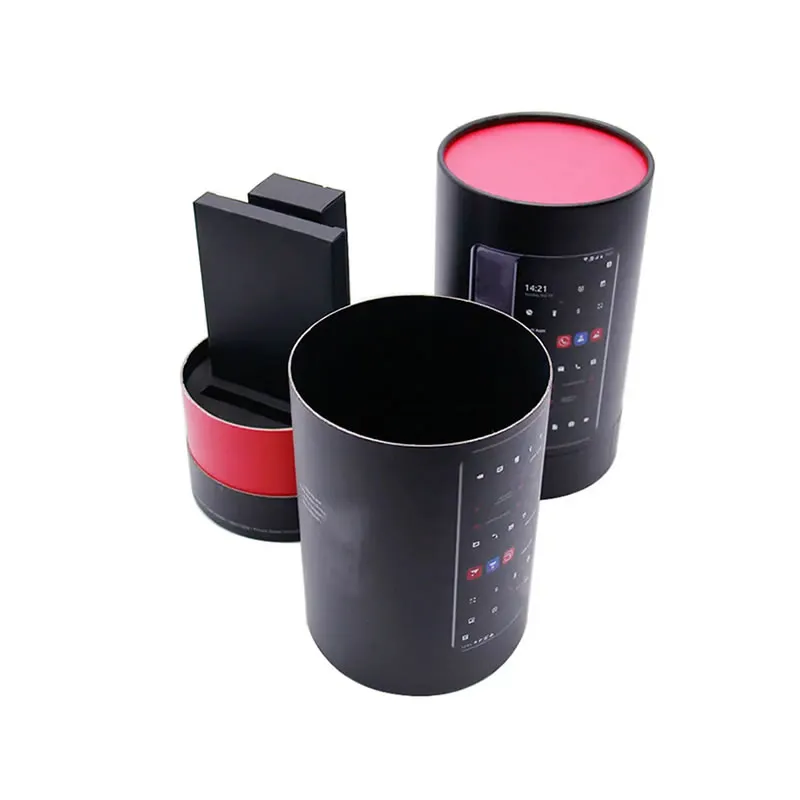
The black round container is open with a bright pink interior and separate insert-like pieces.
BEFORE YOU START
Practical questions for a better packaging brief.
The photograph shows a long outer tube and a matching end piece, not a confirmed accessory pack-out. Measure the actual item and define end clearance and loading direction. If accessories are included, supply their dimensions and a separate placement plan.
Actual item dimensions, end clearance, loading direction and any optional accessories. Review usable length, end access and optional accessory positions.
LET’S MAKE IT YOURS
Start with your email and estimated quantity. Our team will follow up to confirm the packaging requirements.
Build an optional packaging brief ↗You can copy a brief into the requirements field yourself. A saved reference confirms receipt of your inquiry; email notification is handled separately.